No offense but…are you a dinosaur like me, still receiving paper bills and statements by mail? Do you have filing cabinets and drawers filled with paper? It’s time to close the lid on our regular mailboxes and open a Canada Post ePost digital mailbox!
“One Place. One Login. One Password.”
Did you know that Canada Post’s FREE online digital mail service, ePost, was launched way back in 2000? Today, ePost delivers mail online to over 7.5 million Canadians. ePost is a digital mailbox that allows Canadians to access bills, statements, tax, and payroll documents online. Using ePost, Canadians can receive, pay, view, print and store all their electronic mail in their very own secure ePost digital mailbox.
I first heard of ePost about 5-6 years ago when I saw an ePost contest posted on the 407ETR website. For those that use the toll road around the Greater Toronto Area, the website was promoting entry into the contest for everyone who signed up to receive their 407ETR bills via ePost. Honestly, I haven’t thought much about ePost since. For someone who considers herself computer savvy, I can’t believe it has taken me so long to hop aboard the ePost bandwagon!
I was recently asked to give ePost a try by opening up my own ePost digital mailbox. The process was so quick and easy. Let’s take a look at how I set up my ePost digital mailbox.
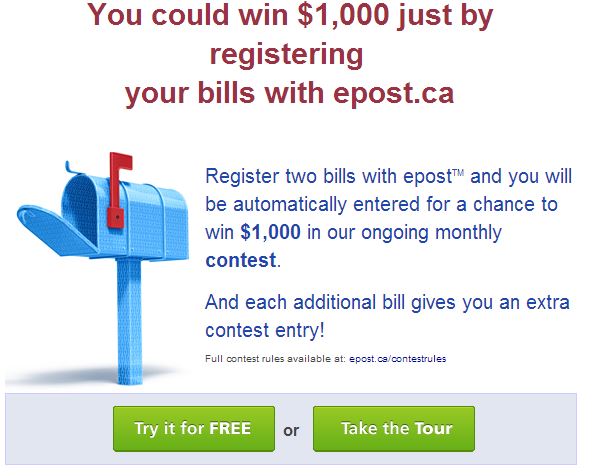
Being the avid contester that I am, the first thing I noticed when I pulled up the ePost website was this:
Now, all you fellow contesters, don’t run away to enter that contest just yet! It’s a great contest, but you can enter it later. First you need to set up your ePost account.
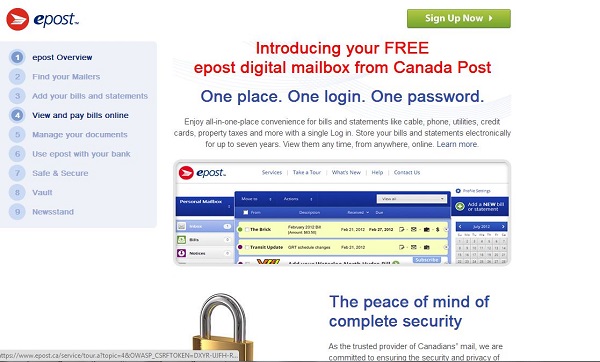
I immediately noticed the “Take a Tour” button at the top of my ePost page. Rather than just jumping into a task like I often do, I decided I had better take the tour so I could properly learn about my new ePost digital mailbox.
As you can see from my print screen above, the ePost tour is pretty detailed, leading you through all the important things you need/want to know about your ePost account.
Once I took a quick read through the ePost tour screens, I decided I was ready to set up my very own ePost account. The first screen that came up was the Contact Information screen. Filling out this form was super easy. It just requires your basic name and address information, as well as a security question and answer (to help keep your ePost account safe!).
Next, I was presented with a welcome screen which contains some general information and details about the contest, and a link to ePosts Terms and Conditions (be sure to read them!). I noted something that is important to me on this page…”Bank-grade security”! This means the information I share with ePost is safe and secure.
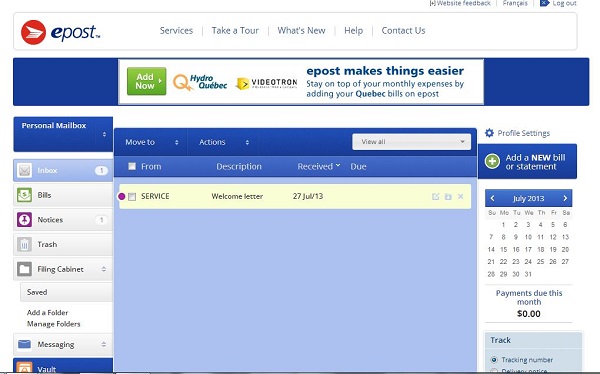
Once I agreed to the Terms and Conditions, my Welcome Letter popped up. I love the look of the main page. It’s well-organized and easy to navigate.
Now I felt ready to set up my first bill payment, also known as a mailer. I grabbed all my current paper bills and chose to start with my Telus cell phone bill.
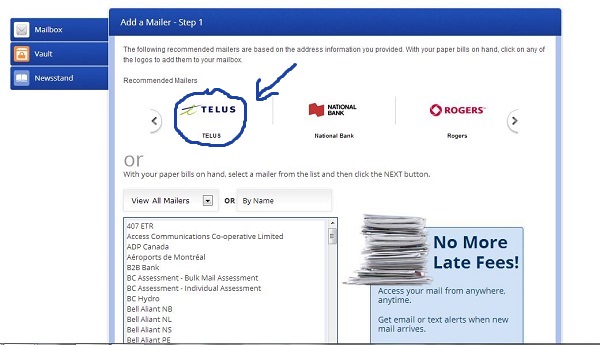
So I clicked on “Add New Bill or Statement” on the right hand side of my page. Here is the next page that appeared on my screen:
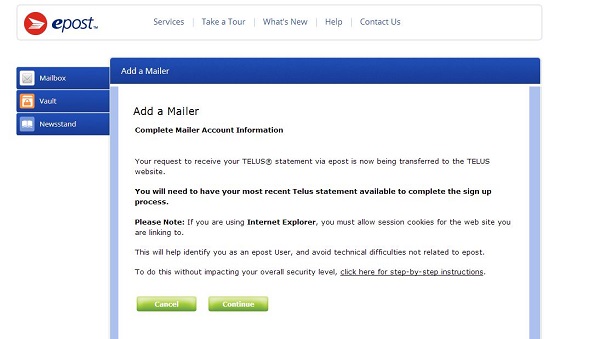
You can see that “Telus” showed up right away (keep in mind that this was where everything went wrong with my Telus mailer set up). I clicked on the Telus icon which revealed this screen:
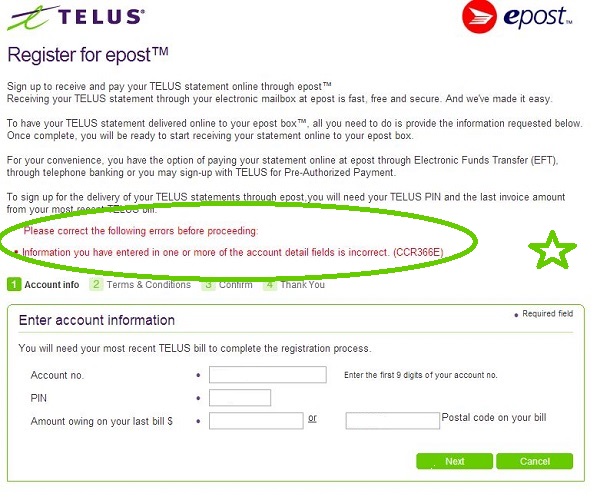
This mailer set up was looking easier by the minute! I started to enter my account number and that’s when I ran into a problem. You see, my Telus account number is an 8 digit number. My ePost mailer registration form was requesting NINE digits from me. Thinking I was smart, I added a zero to the start of my account number. Here’s what happened next:
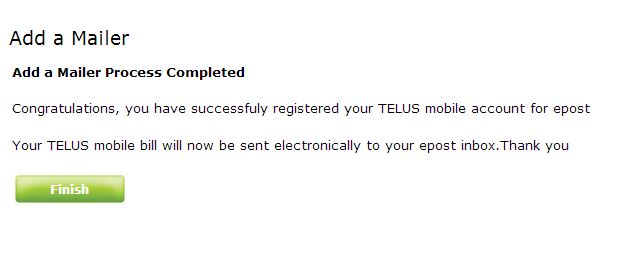
Without entering a proper 9 digit account number, there was no way my Telus mailer set up was going to work. Luckily I was able to obtain assistance with my problem (be sure to check out my Google + album to see how my problem was resolved!) and my Telus mailer set up was a success. What I thought was going to be problem, turned out to have an easy fix. Tip: Use the ePost Mailer “search” function – it works GREAT and I would have avoided my problem if I had used it to search for Telus! Here’s the confirmation I got once I entered my account number correctly:
So as you can see, setting up your bills (mailers) on ePost is a cinch! Now I’m all set to add more mailers. I do hope that Canada Post adds more companies to their mailer list soon. I found that I only have a few bills that I could add to my ePost Digital Mailbox. I would love to see these companies added to the mailer list:
- Bell Canada Internet/Phone/TV for Ontario residents
- CAA Memberships
- PC Financial Mastercard
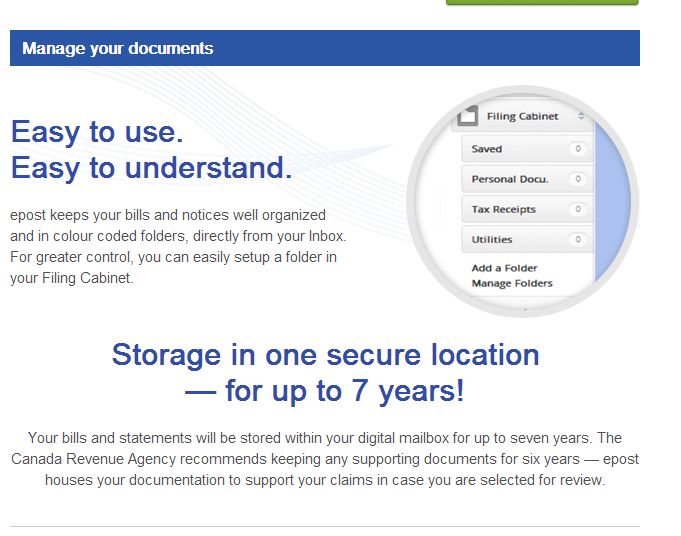
I was able to add my VISA credit card and my HBC Mastercard. Once I had added these bills I decided to give the ePost Document Management a try. Let me tell you, I LOVE this “Filing Cabinet” feature! Not only does it organize my bills for me, ePost will keep my bills stored in my digital mailbox for up to 7 years. This is a great feature, as this is the length of time Canada Revenue Agency recommends keeping your supporting documents for tax purposes.
Be sure to check out the “Services” section on the ePost website. This section provides you with useful Federal Services contact information, a calendar, Postal Code and Address search, current postage rates, parcel tracking and more! I love this page! Such great additional information and options!
I also noticed ePost’s “Newstand” section. Here you can subscribe to many well-known digital magazines…and look…they’ve even got a selection of FREE digital magazines. I’m going to be taking a closer look that that section later!
I’ve been doing my banking online for years. Now I wish I had signed up for a Canada Post ePost Digital Mail Box a long time ago. Not only is it an environmentally-friendly service (important to me!), it’s easy, convenient, and will help me keep my bills organized and in one place. No more late/forgotten bill payments for me! I love how fast and easy it was for me to set up my ePost Digital Mailbox! Now…I’m off to set up my ePost Notification Calendar!


