No matter whether you live in your own house, or a condo, you cannot escape the inevitable home improvements that are necessary to maintain your home – your biggest investment!
My aunt has lived in her condo for (at least) 25 years now. She lives in a very well-maintained building, and has a spacious unit with lots of windows to let the sunshine and cool summer breezes in.
She has had to have some repairs completed in her condo over the years but, these repairs were often done out of necessity – like when the condo board required certain updates to be done within the condo.
My aunt lives a very simple life. She has always preferred to “do without” herself, wishing instead to use any spare money to help those less fortunate than herself.
While this is a very noble thing, helping so many others, at the expense of herself, has meant putting off her own home improvements until she could no longer put them off.
She made the decision this past winter that it was finally time to invest some of her money into fixing up her condo kitchen. After decades of not updating the fixtures, flooring, and counter tops, her kitchen was in desperate need of a complete overhaul.
And so began the weeks-long process of having her condo kitchen renovated.
Renovations are now complete and she is very happy with the result. So am I. It’s a huge improvement!
My aunt and I had many conversations during her home improvements experience which resulted in me learning a few things I had never thought about prior to these renovations.
Home Improvements For Your Condo: 9 Things To Consider:
- Contractor – If you are like my aunt, and you are having multiple jobs completed all at once, a contractor may be the perfect choice for you. Make sure you hire a reputable contractor. In a condo, work completed doesn’t just affect you and your condo – it could affect your neighbours around you. Ask others in your building. My aunt hired a local contractor who had already completed work on behalf of other condo residents. He came highly recommended by the other residents who had hired this contractor for similar renovations. When looking for a contractor, consider Smart Reno’s Renovation Contractor matchmaking service, that finds contractors in your area.
- Insurance – Remember that old adage? Whatever can go wrong, will go wrong. For times like this, make sure you – and your contractor – are adequately covered for mishaps and accidents while renovations are being completed. Don’t assume the person completing your renovations is covered by sufficient insurance. Ask!
- Clean Up – Make sure you have a clear idea of how the job is going to go before it starts. My aunt’s renovations took almost a full month to be completed from start to finish. That’s a long time to be without access to a room like a kitchen. Luckily for my aunt, her contractor tidied up (and even vacuumed!) at the end of each day, so she could use her kitchen at night. Besides the possible inconvenience, you don’t want your contractor leaving equipment and messes around for someone to injure themselves on.
- Take Stock Of All Needed Home Improvements – If you are going to go ahead with home improvements, why not take stock and see what other improvements need doing, and get them completed at the same time. My aunt started out knowing she needed to replace her counter top and her flooring. Once she decided to get a contractor, she decided it would also be a good time to have new kitchen cabinets installed, a new range hood, and an updated light fixture in the kitchen ceiling. She also ended up going ahead with having a new bathroom counter top installed. Be sure to ask for a discount if you are getting your contractor to complete a number of jobs all at once.
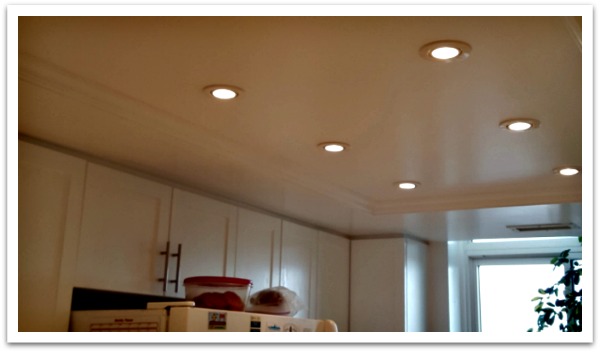
- Outdated Decor and Fixtures – Speaking of lighting, my aunt went from having outdated “Florida” lighting, to this wonderful display of pot lighting:
 I wish I had taken a photo of the “before” so you could see what a transformation this was for her kitchen ceiling. My only suggestion would be to install LED lighting in the pot lights. LED may be a bit more expensive, but I find them preferable to the CFL lights my aunt had installed. CFL lights contain mercury (a hazard if they break), and personally, I like the light emitted from LEDs more.

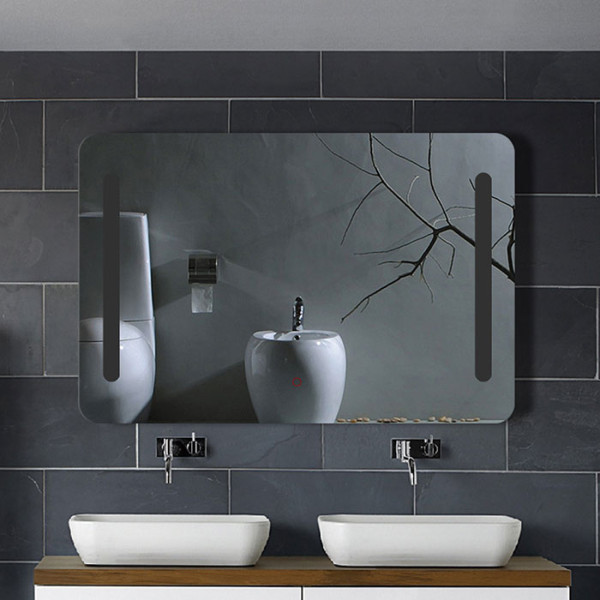
Speaking of LED lights, I’d love to see my aunt have one of these LED mirrors I saw at Decoraport, installed in her bathroom to go with her new bathroom counter top. I bet one of the LED mirrors would be terrific for those that need good lighting to see better, like my aunt. Tip: If you intend to purchase energy-saving products such as LED lights, be sure to check your hydro provider’s website to see if they are offering money-saving coupons on those items, like the coupons offered through Hydro One.
6. Consider Your Options – Figure out what really needs replacing. When my aunt was first looking to have some renovations completed in her kitchen, she thought she needed a whole new set of cupboards installed. Then she realized that it wasn’t the inside of the cupboards she needed to replace – they were perfectly fine, and in a configuration she was comfortable with. She simply needed to refresh her kitchen with new cupboard doors. This lessened her renovation costs considerably.
7. Make Up Your Mind – Don’t do what my aunt did. Choose your new fixtures/hardware/decor wisely. What was a fairly hasty decision for my aunt when it came to choosing her new vinyl flooring, turned to feelings of regret later. A couple of days after choosing the colour/design for her new vinyl flooring, my aunt realized that what she chose really wasn’t the style she had been looking for. She contacted her contractor as soon as she realized this but, he had already purchased (and cut) her custom order. She could still change it but, it would cost her an additional $500. In the end she decided her choice wasn’t that bad and certainly not worth paying $500 to change.
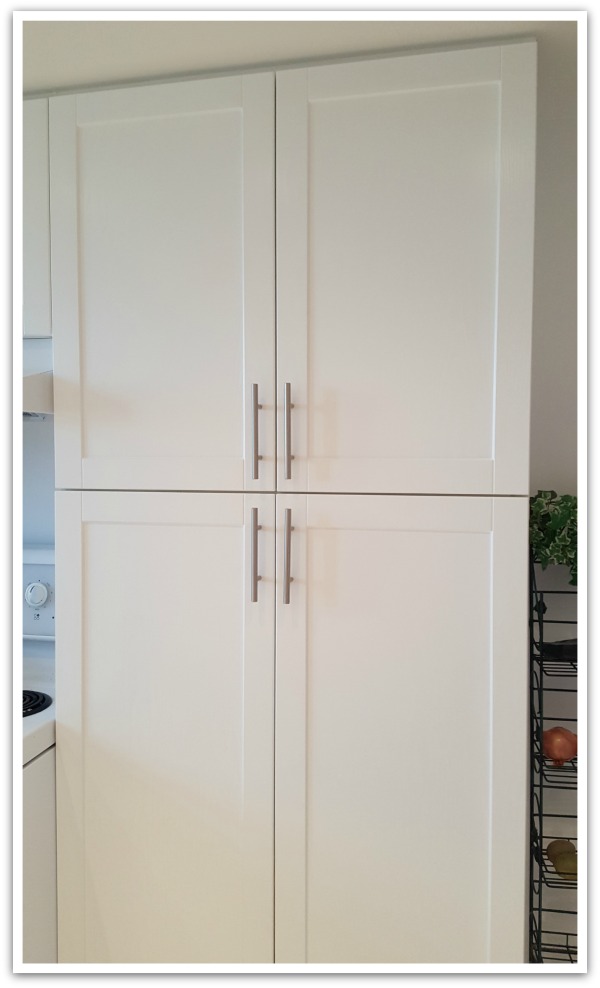
8. Hardware – Sure, it seems like such a small thing but, hardware can make a big difference to the overall look of a room, especially when it comes to cabinets. Handles on my aunt’s old cabinet doors consisted of a sloping piece of wood that she would simply grab on to open the door. These handles were painted black. Over time, nails left scratch marks on the cabinets, quickly making them look worn. When she changed her cabinet doors, she went with a simple, timeless handle design that is easy for hands of all sizes to grasp:

9. Neutral or Colourful – If you go by my aunt’s way of thinking, she chose to stay with an “all white” kitchen as she likes the “clean” look of white. Also, to her, when she sells her condo in the next few years, the new owners will probably just renovate the kitchen to their own tastes anyways, so why do anything but white? There was just no convincing my aunt to add a splash of colour. Personally, I think a little splash of colour is a good thing. If it’s done right, and in neutral tones, it’s highly unlikely a new buyer is immediately going to renovate a newer kitchen.
One last bonus tip. Speaking of Murphy’s Law (#2), keep in mind, when having home improvements completed in your home, what starts out as a simple job, may transform into a more expensive job than originally anticipated. You never know what you may uncover once you get started. Keep this in mind and keep some of your budget for unforeseen problems.
What other things would you take into consideration when doing home improvements to a condo?

