Have you ever thought about making homemade butter?
My boyfriend recently decided to try making his own butter after finding leftover whipping cream in the fridge. It was more out of curiosity than anything but, what resulted, was delicious.
So we decided to share his process for making homemade butter in case any of you would love to give it a try. Making homemade butter is certainly not economical compared to buying it in-store (unless you can find whipping cream at a discounted price), however, it makes for a nice treat – so fresh and tasty!
Here’s a fun little activity you can do with your kids, or just because you feel like it. All you need are a few simple ingredients.
Check it out!
Ingredients required to make homemade butter include:
- 1 litre of cream (which should have at least 35% fat)
- 1 teaspoon fine or crushed salt
- Cold water
- Parchment or wax paper
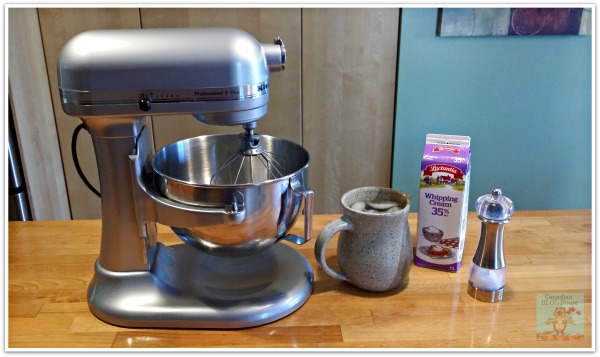
Before you begin, you will want to make sure that you have some room available in your fridge, or freezer, to cool the butter down. You will also require a mixer – this is not a job to be done by hand.
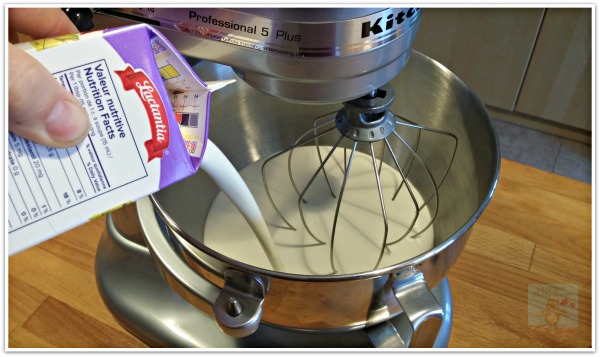
So, this is the difficult part. Pour the cream into the bowl and turn your mixer on .
I used 1 litre of 35% whipping cream. Any cream will work but, the higher the fat level, the more butter you will make, and the less time you will have to spend mixing the cream.
I used the medium to high setting to start off my mixing. Anything higher will spray cream all over the counter. Of course, the faster you beat the cream, the quicker you make butter.
But hey, we’re in no rush.
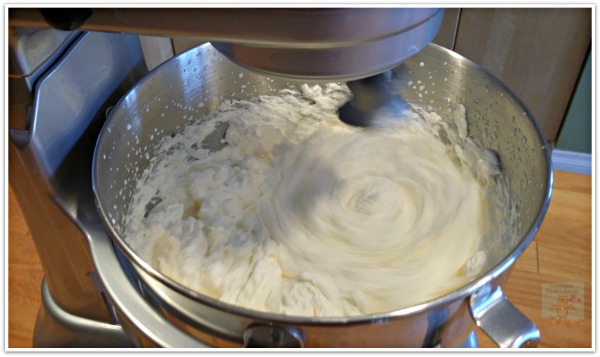
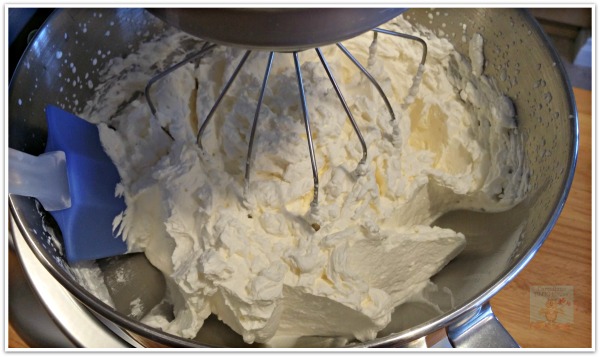
After (roughly) six to seven minutes, we’ve made whipped cream.
Let’s keep on going.
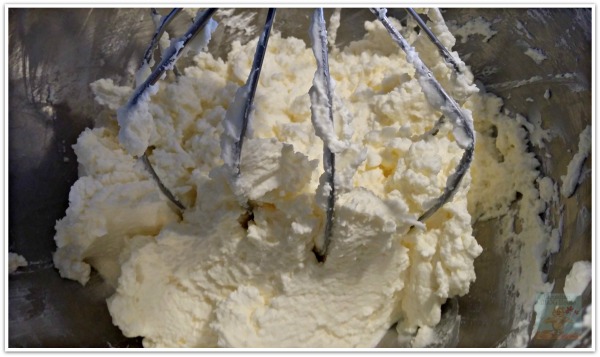
You’ll eventually notice that the mixture seems to become grainy. That’s good. You’re getting closer.
Make sure to mix in any of the cream that’s stuck on the side of the mixing bowl. I just used a spatula and folded it back into the mix.
Of course, don’t do this with the mixer on!
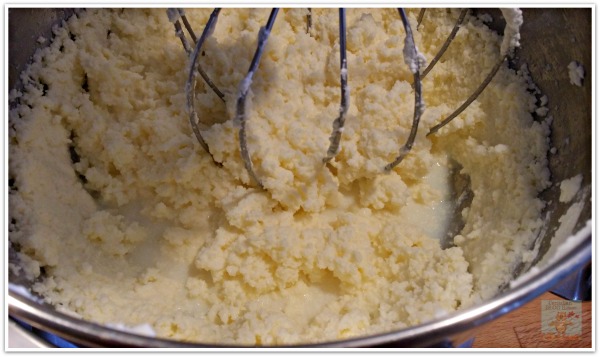
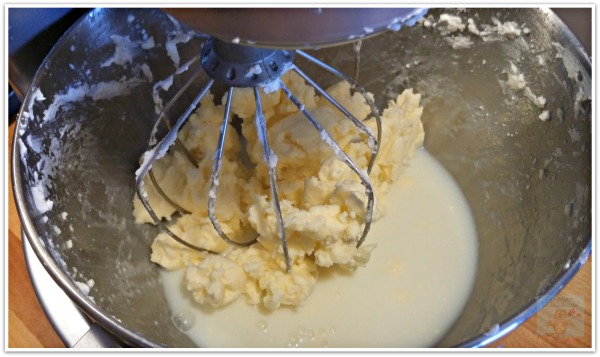
You’ll notice at this point the butter is forming.
We’re almost there!
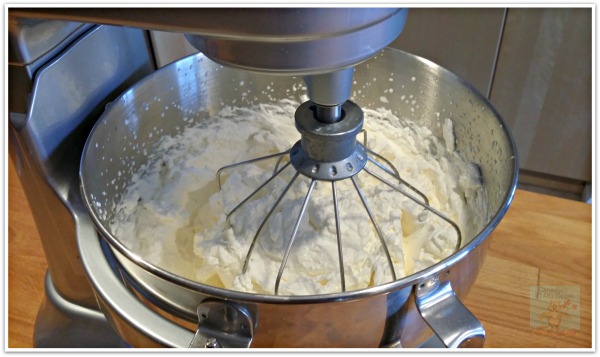
As you can see in the photos, the cream is starting to clump up even more.
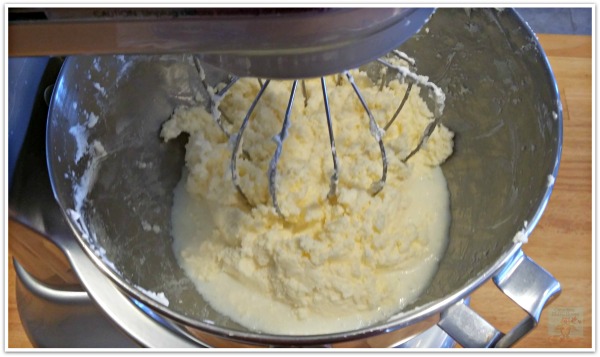
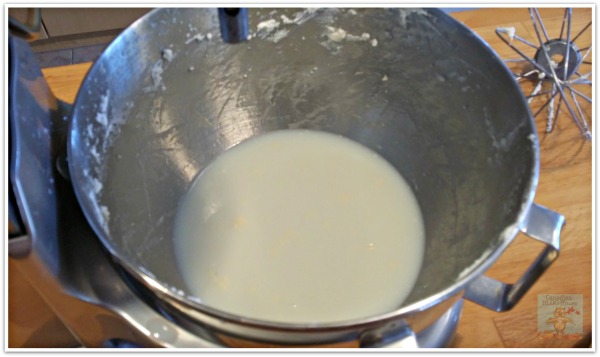
And there you have it! That yellow mixture is butter, and the liquid that you have left over is buttermilk.
It took almost 25 minutes of beating the cream to get to this point.
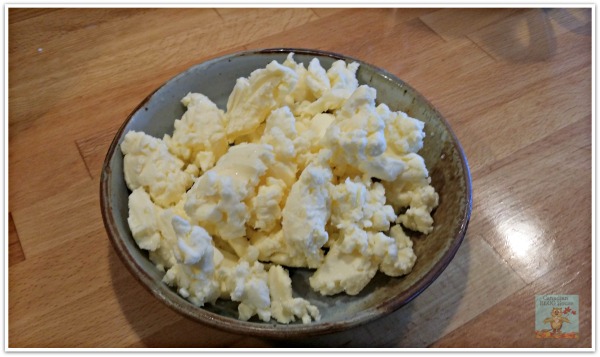
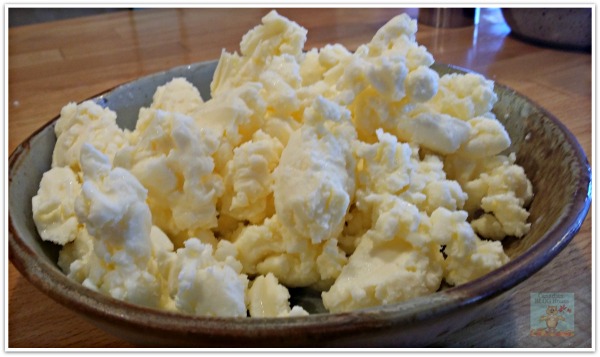
Scoop out all the butter.
Doesn’t it look great? Fresh unsalted butter!
But we’re not done yet!
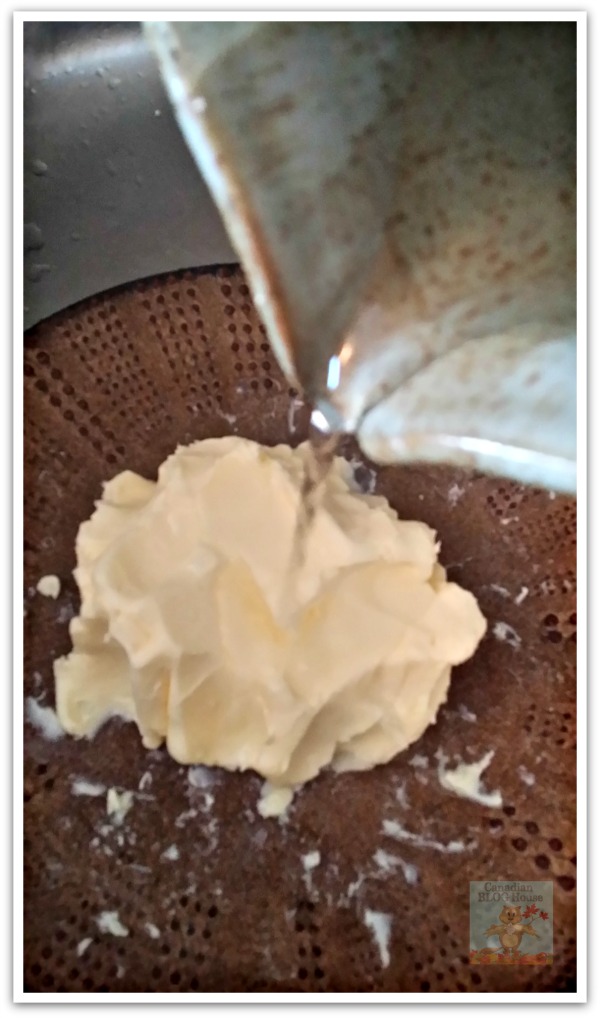
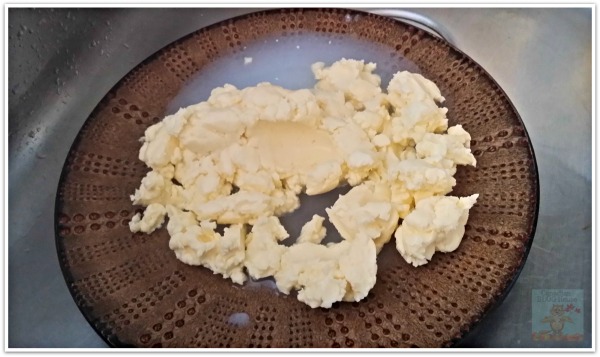
The next step is washing the butter. I like to use iced water and thoroughly rinse the butter. It’s important to remove as much of the buttermilk as possible, and dry off any water. We do this to prevent the butter from going bad. I find it easier to knead the butter with the back of a large spoon to work the water out. You will also find that the butter tends to break down if it gets too warm, if this happens just refrigerate the butter for a few minutes and then continue.
You can now add the salt. I used 1 teaspoon of very fine crushed sea salt. Sprinkle the salt on top of the butter and work it into the butter using a spoon, or by hand.
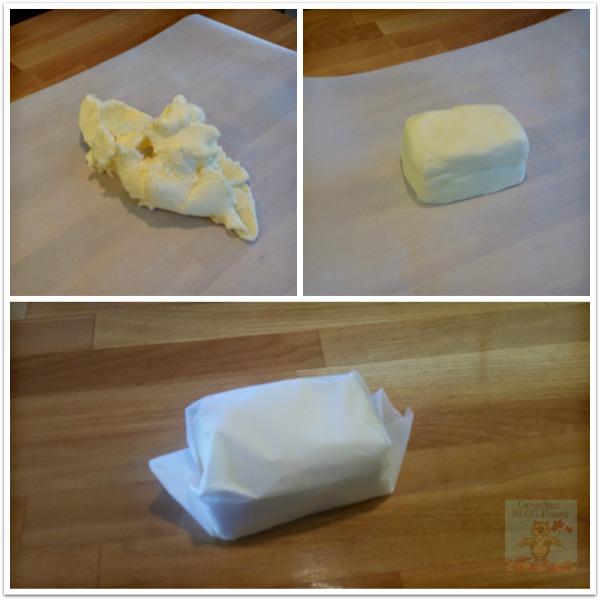
Once your butter is ready, you can form it by hand and then wrap it in parchment or wax paper.
And there you have it – homemade butter!
Don’t forget that there are no additives in homemade butter, so the butter will not last as long as store-bought butter. Using 1 liter of 35% cream, I made roughly a pound of butter.
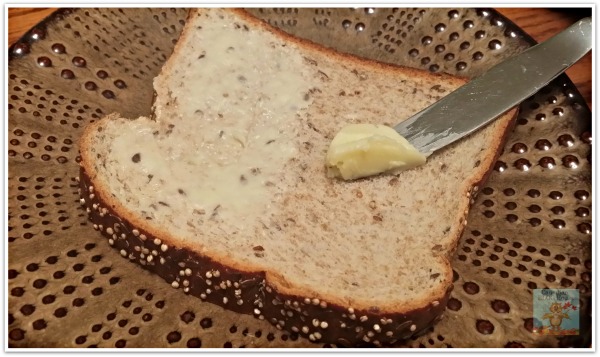
Mmm! You’ll probably find that the butter is a bit paler and fluffier than what you buy at the store. Personally, I find it tastes better.
Enjoy it any way you normally enjoy butter!
