For those of you who love Social Media like me. let’s face it, we LOVE to take photos and share them, right? Whether we share them via Facebook, Instagram, Twitter or Pinterest, many of us are sharing the moments of our lives with friends and family almost daily.
As a Blogger, I can create collages of my pictures to share with all of you on my blog. But what if you are someone who puts all your best pictures on your Facebook page, how do you share your photos with friends and family who may not be on Facebook (or maybe they are, and like my parents, they never login to their own Facebook account)?
PhotoPad is here to change that. This FREE virtual scrapbook app allows you to create your own virtual photo books, eCards and postcards using the pictures from your Facebook albums, or you can upload the photos directly from your computer.
I was recently contacted by the folks at PhotoPad and asked to review this fun app. I am an old “scrapbooker” at heart, having spent a great deal of time immersed in the fun hobby of scrapbooking back in the early 2000’s when scrapbooking with fun paper, cut-outs, stickers, and stamps became all the rage. That was before digital photos, when picking up paper photos at your local photography store was still the norm. Now, with digital photos being the only photos I keep (reminds me…it’s time to back up my photos again!), this PhotoPad Facebook App seemed like something I really might enjoy using.
So the only way to review an App properly is to test it out myself…and test it out I did. Follow along with me to see what I did with the PhotoPad Facebook App:
The colourful and cheery PhotoPad Facebook App is super easy to use. I decided I would like to make a Photo Book/Scrapbook from the photos I took on Canada Day. I was all ready to start my Photo Book after loading the app onto my Facebook page, which only took a few seconds to complete. In the above image ^ you will see the first screen from the homepage of the PhotoPad Facebook App. I clicked on “Photo Books” in the menu and selected “Create New Book”.
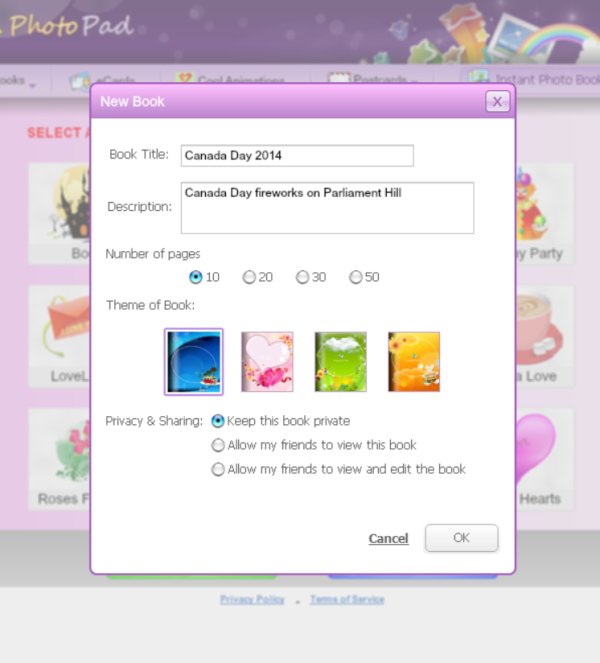
Next, I titled my book, gave a description of what my book was about, chose the number of pages I wanted in my book, and set my privacy and sharing option. The PhotoPad Facebook App will automatically load your photos you have on your Facebook page OR you can upload photos from other sources, like your computer. I chose to upload more photos from my computer, as the ones I wanted to use were not all on my Facebook page. With a click of the “More Photos” button, I was easily able to choose the photos I wanted to upload from my computer. Uploading the photos took under a minute and then I was ready to begin making my Photo Book.
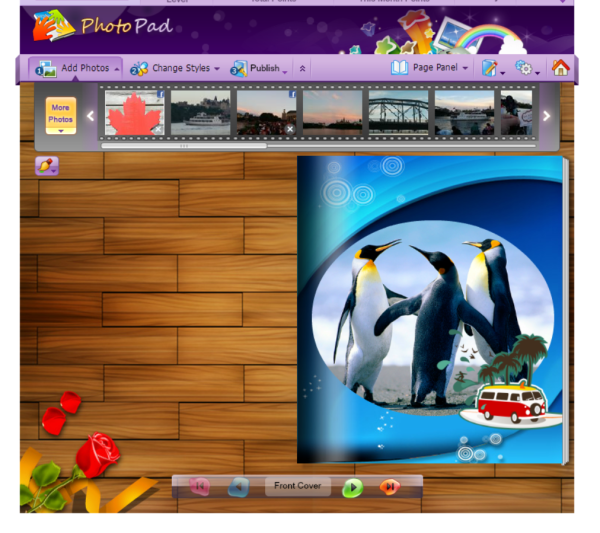 I chose to use the first Photo Book theme. The penguins are cute but, I wanted to use my own photo on the front cover. It’s super easy to add your photos to your PhotoPad Photo Book. Hover over the existing image on the Photo Book, click on the image and drag it away. It will magically disappear! Then, click and drag your photo over to the Photo Book and drop it there. Voila! you’ve got your image on the front page! I replaced the penguins with my own red maple leaf photo.
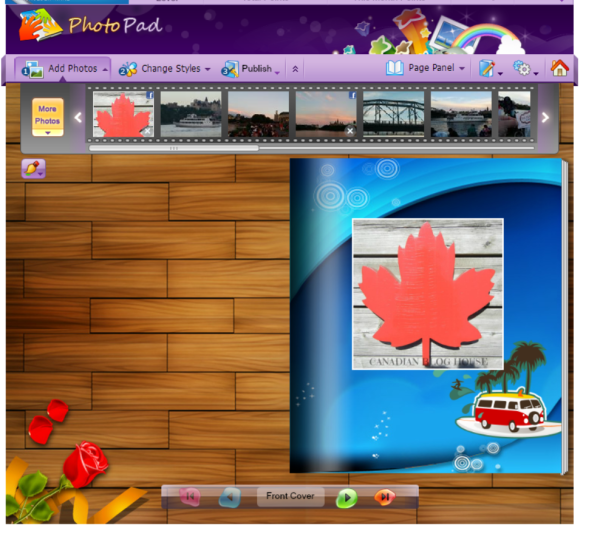 As you can see ^ there are different options to play around with on the PhotoPad Facebook App. You can add photos, changes styles, publish, change fonts, number of pages and more. Don’t be afraid to click on the buttons to see what options are available to you when making your Photo Book. If you click on your image you have dragged onto the Photo Book you will notice another set of options comes up including borders, colours and cut-out shapes. You can easily browse through your Photo Book using the forward and backward buttons at the bottom of the app screen.
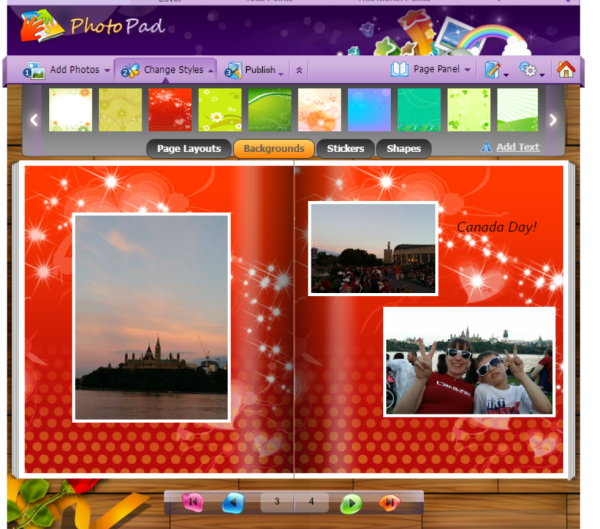
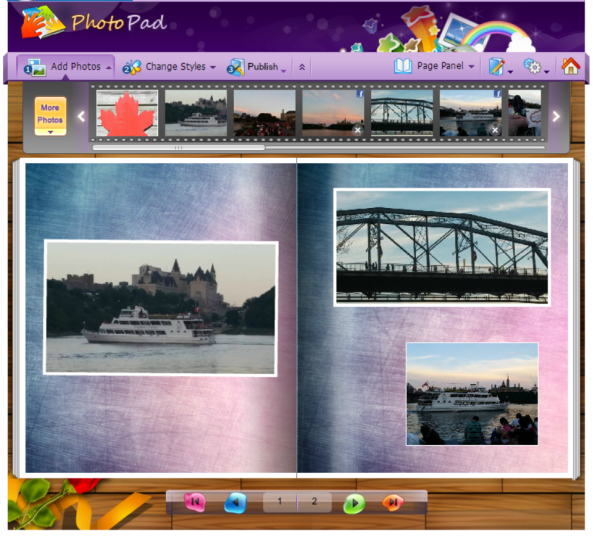 I started my first pages using the template provided when I opened my Photo Book ^ . I dragged the photos I wanted to use onto my template.
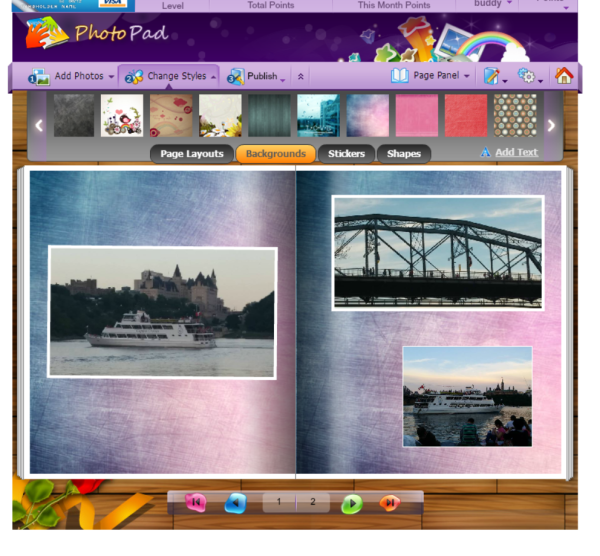 That’s when I discovered I could “Change Styles”. I could change Page Layouts and Backgrounds!
I could also add stickers, borders, shapes and text!
Taking a look through the Backgrounds tab, I discovered a background that was much better suited to my Canada Day theme. Love the red with the hearts and stars!
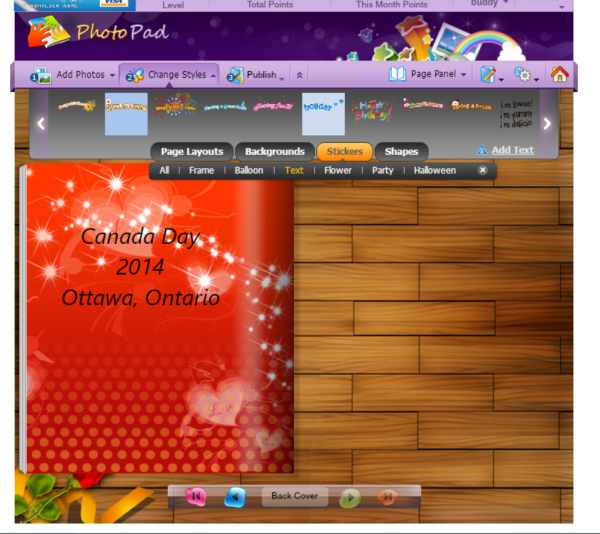
Next, I realized that I could also change the background of my front cover. I deleted the image of the vehicle and palm trees by dragging them off my page and then I added my new back ground. Much better!
I loved that I could add a finishing touch onto my Photo Book on the back page, so I decided to put a description of what the Photo Book was about.
The great thing about the PhotoPad Facebook App is that once you have completed creating your Photobook, you have options of what to do with it. You can:
-
Post it to your wall
-
Send Current Page as eCard
-
Send To Friends
-
Save as Photo Book
I saved it as a Photo Book, so it was saved to my virtual bookshelf so I can view it any time I want.
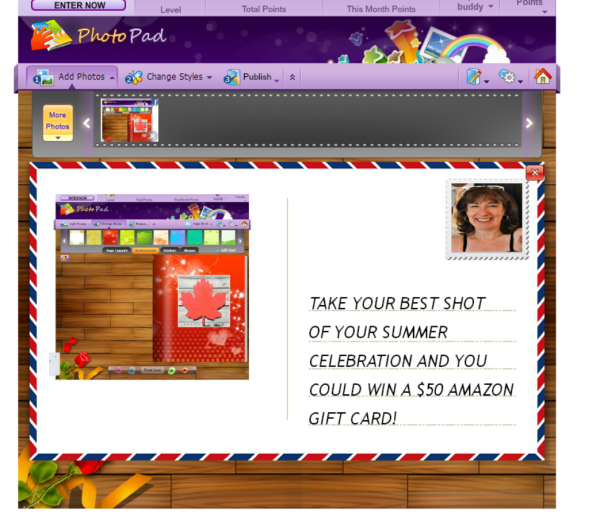
Last, but not least, I tried out the Postcard option from the homepage of the PhotoPad Facebook App. Easy to use, this Postcard option allows you to use your images to send fun virtual postcards to friends and family via your Facebook wall or privately. Like the options available for the Photo Book, you can add photos, text, stickers and more to your Postcard. For the “stamp” the PhotoPad Facebook App captured my profile photo used on Facebook.
Wanting more of that Scrapbook look? Here’s an example from PhotoPad:
To help you understand how to use PhotoPad Facebook App a little more, here is a great video from the people behind PhotoPad:
That’s it! Simple to use…and fun! Easy enough for kids to use and share their photos with Grandma and Grandpa. Best of all, it’s FREE!
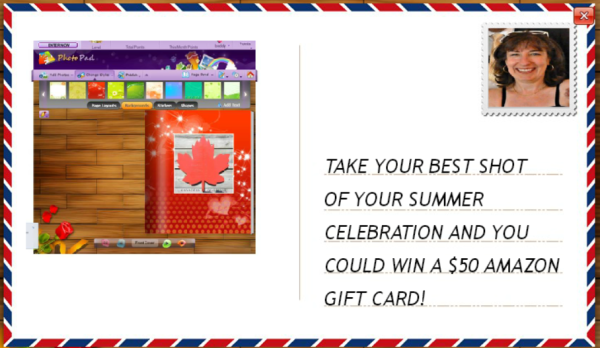
The great folks over at PhotoPad want to give you a chance to WIN a $50 Amazon.com Gift Card! Head on over to the PhotoPad Facebook App, give it a try for yourself and enter the “Best Shot Contest“!
Disclosure: Canadian Blog House received compensation for this review. All opinions are our own.
