
Canadian Blog House recently partnered with Dulux Canada to bring you this DIY painting project and to provide you with tips to help you get your home ready for the holidays. All opinions are our own.
There are many ways to get your home ready for the holidays. Cleaning, decluttering, putting up the Christmas tree, and setting out holiday decorations are likely at the top of everyone’s to-do list.
Have you thought about adding a fresh coat of paint to spruce up your living room, dining room – or any other space in your home where you intend to entertain your guests?
Dulux paints can help!

If you’ve been following along with my Dulux Instagram stories over the last few weeks, you will have seen that we’ve been working on a DIY project thanks to Dulux Canada – painting our living room/dining room.
This hasn’t been your typical DIY painting project, however.
When we were approached by Dulux Canada to freshen up one of our rooms, we enthusiastically chose to go “all out”. Not only would we paint our living room/dining room but, we chose to experiment with a fabulous-looking Dulux Canada paint product – their Venetian Silk Effects finish paint.
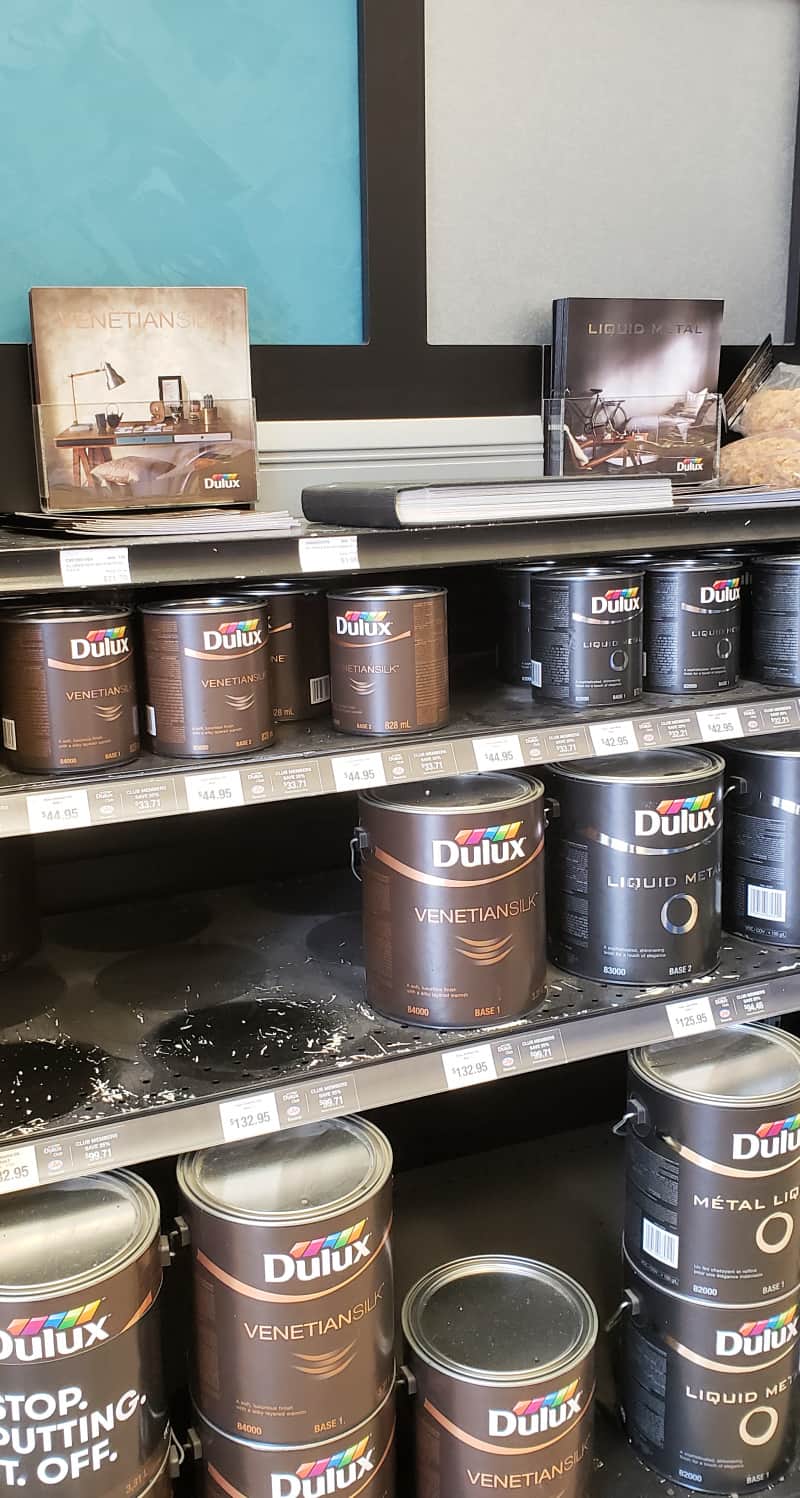
The idea we had for the Dulux Venetian Silk Effects finish was to create an accent wall in the living room/dining room using Venetian Silk “Cream and Sugar”.
We loved the look of the Venetian Silk so much, for a brief moment we entertained the idea of finishing off all the walls in this finish paint – but then we came to our senses.
Applying the Venetian Silk Effects finish paint is a little more involved than your average paint job and, most importantly, it’s really supposed to be used as an accent wall in the room.
We learned a great deal during our Venetian Silk experience, and wanted to share with you some tips to help you make the most of your own DIY painting experience. Whether you long to try Venetian Silk Effects finish – or any other paint products offered by Dulux Canada – they’ve got you covered!
5 Tips To Help You Get Your Home Ready For The Holidays With Dulux
Preparation Is Key
Painting a room requires preparation. Take the time to inspect your walls before attempting to apply any paint. Your walls may need a little TLC before any painting can take place.
My partner took the time to putty small picture holes, cracks, and blemishes in our walls. He then sanded these areas down and primed them. We wiped down all the walls with a wet cloth to remove any dirt or dust from the sanding process. We finished our preparations by taping to help make cutting around the walls, and ceiling, easier.
This preparation not only made the application of the Dulux paint on our walls easier, but it also made for beautifully finished, smooth walls.
Use Quality Tools
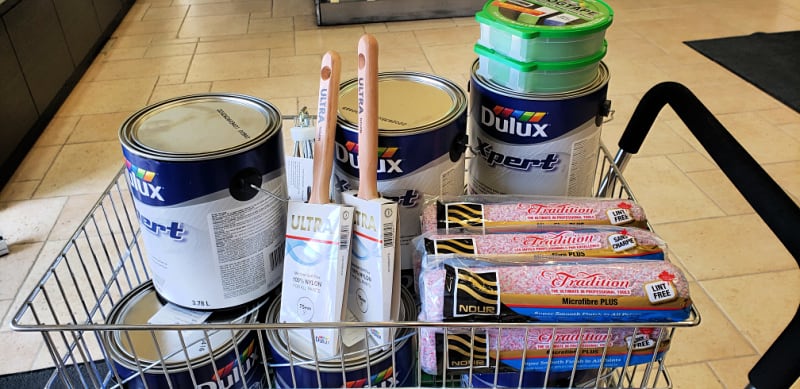
Before visiting our local Dulux store, we decided we would seek the advice of a Dulux Canada expert to help us choose the best and most appropriate tools for the painting process we were about to undertake.
Sure, we could have blindly chosen the tools we thought would be sufficient to complete the job, however, taking the advice of a Dulux Canada expert was the right decision, especially since we would be working with a unique product – their Venetian Silk Effects finish.
Our Dulux expert was a huge help. He took us through the store and provided us with suggestions for everything we would need to get the job done – from start to finish.
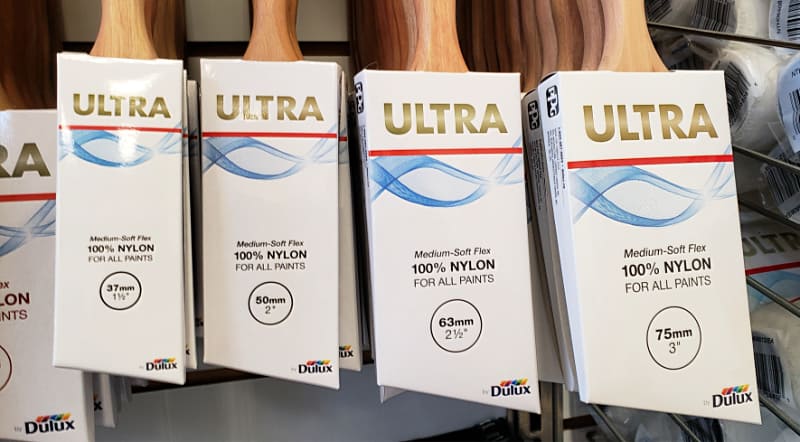
His best tip? Use quality tools. Quality paint brushes and rollers can make an immense difference when it comes to paint coverage and the end result.
We discovered how important his advice was early on in our painting process.
Thinking we would start painting our stippled ceiling using an unused roller we had stored in our basement, proved to be a foolish decision.
There was a reason our Dulux expert had suggested the quality plush roller that he did for our stippled ceiling!
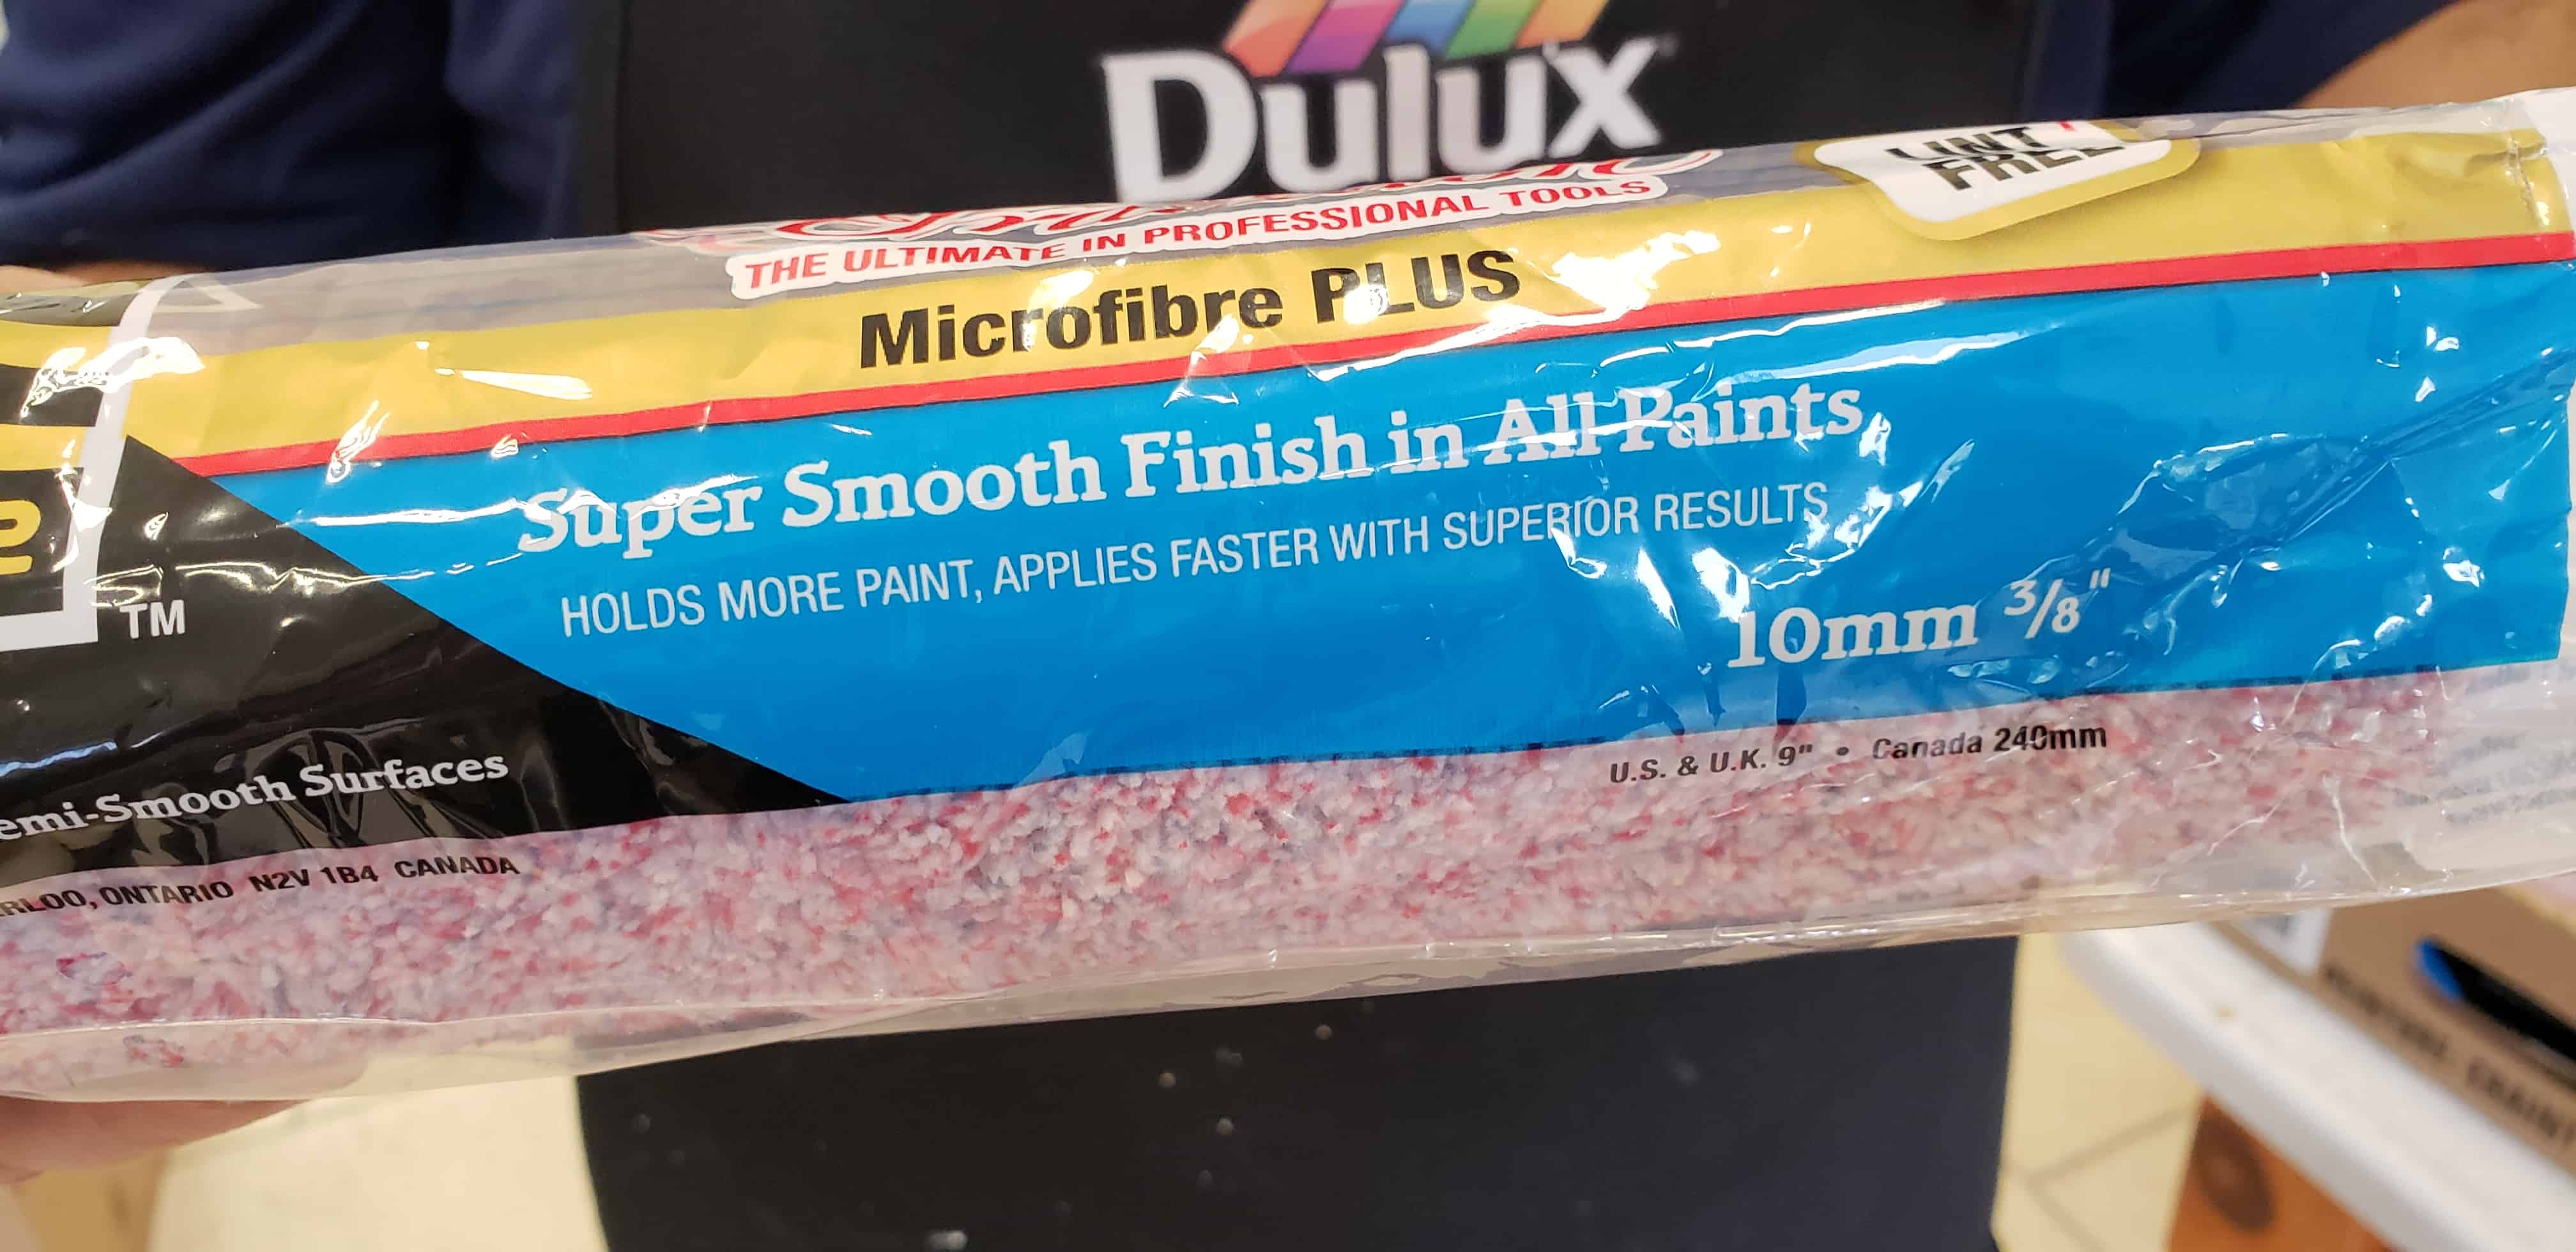
Our previously-purchased roller was not plush enough for painting our ceiling. Not only did it start to remove bits of the stippling but, it did a terrible job of applying the paint!
Luckily, my partner quickly realized that it was our roller that was causing this problem. We switched to the recommended roller and noticed the difference immediately. Touching up the ceiling was a breeze – using a quality Dulux paint brush, of course!
The lesson here? Always follow the advice from your Dulux Canada paint expert!
The Devil Is In The Details
In some respects, we did not think some things through before starting our painting.
For example, we picked up some great paint trays and inserts from our Dulux Canada store, however, we quickly realized, during our first round of painting, that we should have made certain our paint tray had hooks that clip to our stepladder. This would have ensured that painting from up on the ladder was easier – and more secure!
Be sure to take time to think through all the little details!
Drips Happen
No matter how careful you are, drips happen. Spills happen.
Before you start painting, cover everything.
Everything.
Our Dulux Canada expert recommended some terrific drop sheets which we used to cover our furniture. You will also need old towels, cloths, or plastic sheeting to cover anything you don’t want to be splattered with paint.
We did not cover our flooring but, we did keep plenty of moistened paper towel handy to quickly wipe up any drips or spills that happened.
If you don’t cover your flooring, I guarantee you’ll wonder how your floor ends up with all kinds of little spots of paint on it. We were easily able to remove these little splatters of dried paint with our fingernails, however, it made the over-all cleanup job a little more time-consuming.
Screw (driver) It!
The Dulux Venetian Silk Effects finish has a thicker consistency than regular paint, so you really need to make sure that any little excess bits that touch areas they shouldn’t, get wiped up quickly.
When applying the finish near corners of your accent wall (or along baseboards) it’s almost impossible not to get any bits ending up on the wall or baseboard where you do not want it to be.
We found it handy to use a flat screwdriver covered with a layer of paper towel to easily get into the corners between the two walls to soak up the small bits of finish that may speckle onto your other walls.
‘Tis The Season
Here in Canada, there’s no better time to complete an indoor painting project than in the winter while we are all hibernating from the cold temperatures outside! Now is the time to consider your next painting project!
Don’t want to try a special effects finish? No worries! Dulux Canada has all your painting need covered! Stop into a local Dulux Canada store near you for expert advice and products to help you get the job done!
Be sure to follow Dulux Canada on Facebook for all the latest news and info, and visit the Dulux Canada website for up-to-date info on all their great promotions!
There’s more to our Dulux story! Coming soon…more tips…and the final reveal! Stay tuned!

